
Metered Products
Define a metered product: which events count, how they're aggregated, and how to test it.
A metered product turns the events you send to Vayu into billable usage. It's defined by three things:
- Event name: which events count, for example
request_made. - Conditions (optional): which of those events count, for example only
statusequal to200. - Aggregation: how the matching events become a number, for example the count of events or the sum of a field.
When you add usage-based pricing, such as per-unit or tiered, to a plan or contract, you pick a metered product. Vayu prices the number that product produces. See Usage-Based Fees.
Send events before you create a metered product. The event names and fields you can choose from come from the events Vayu has received. See Sending events.
Create a Metered Product
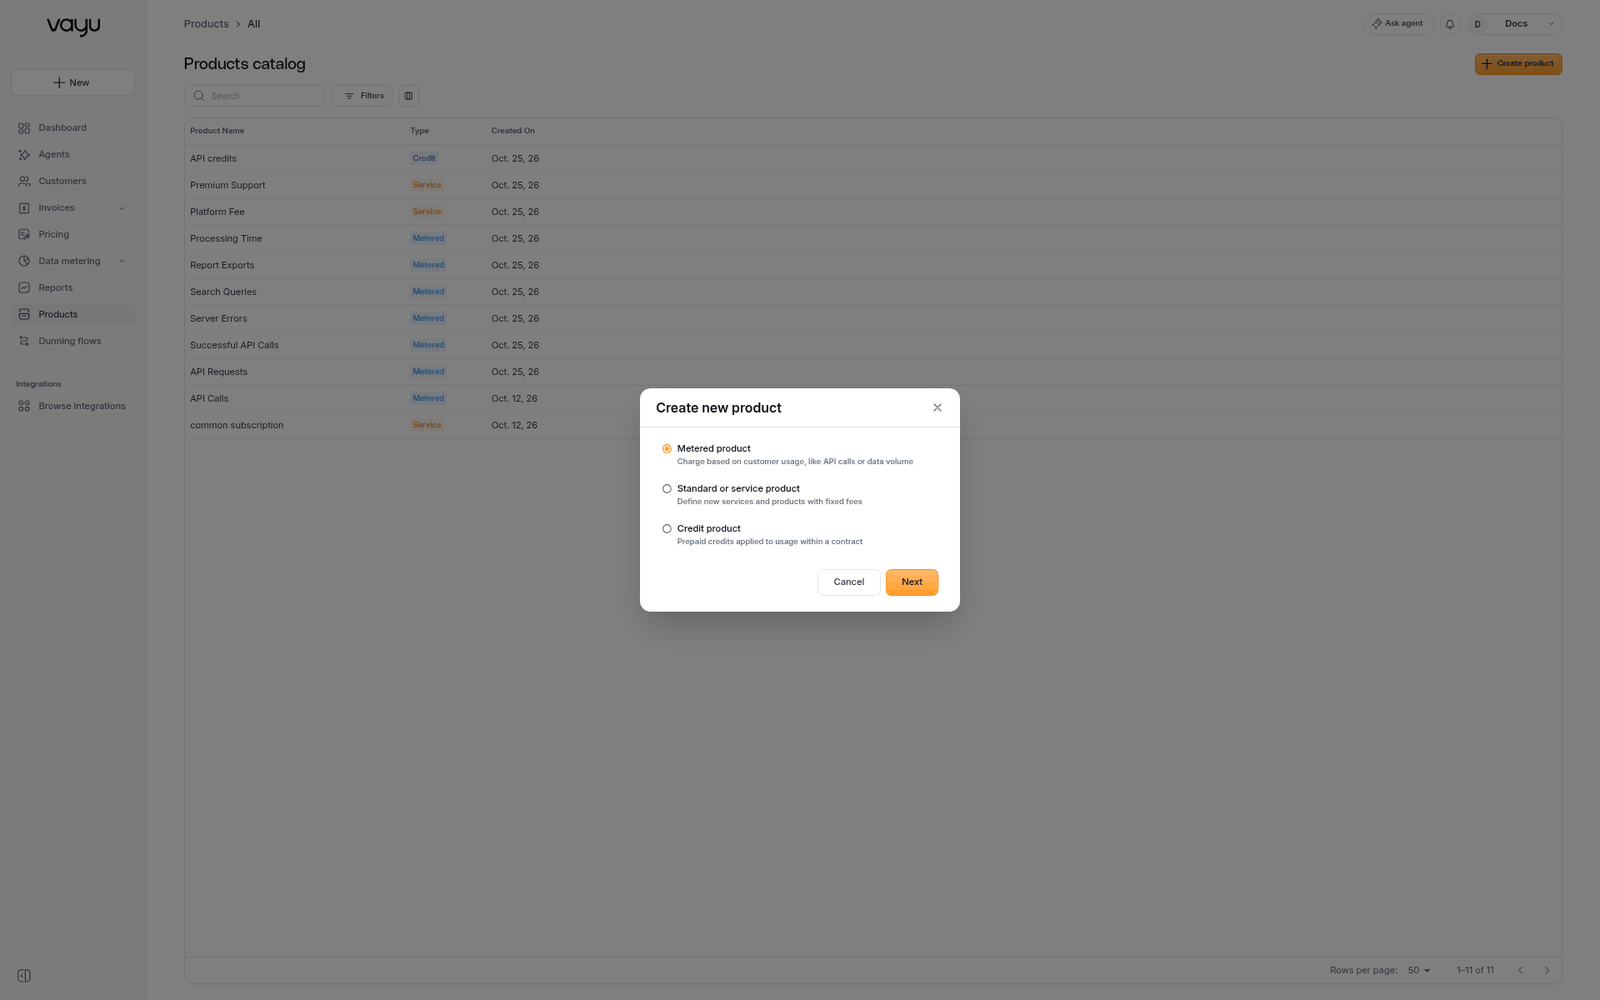
Go to Products, click Create product, select Metered product, and click Next.
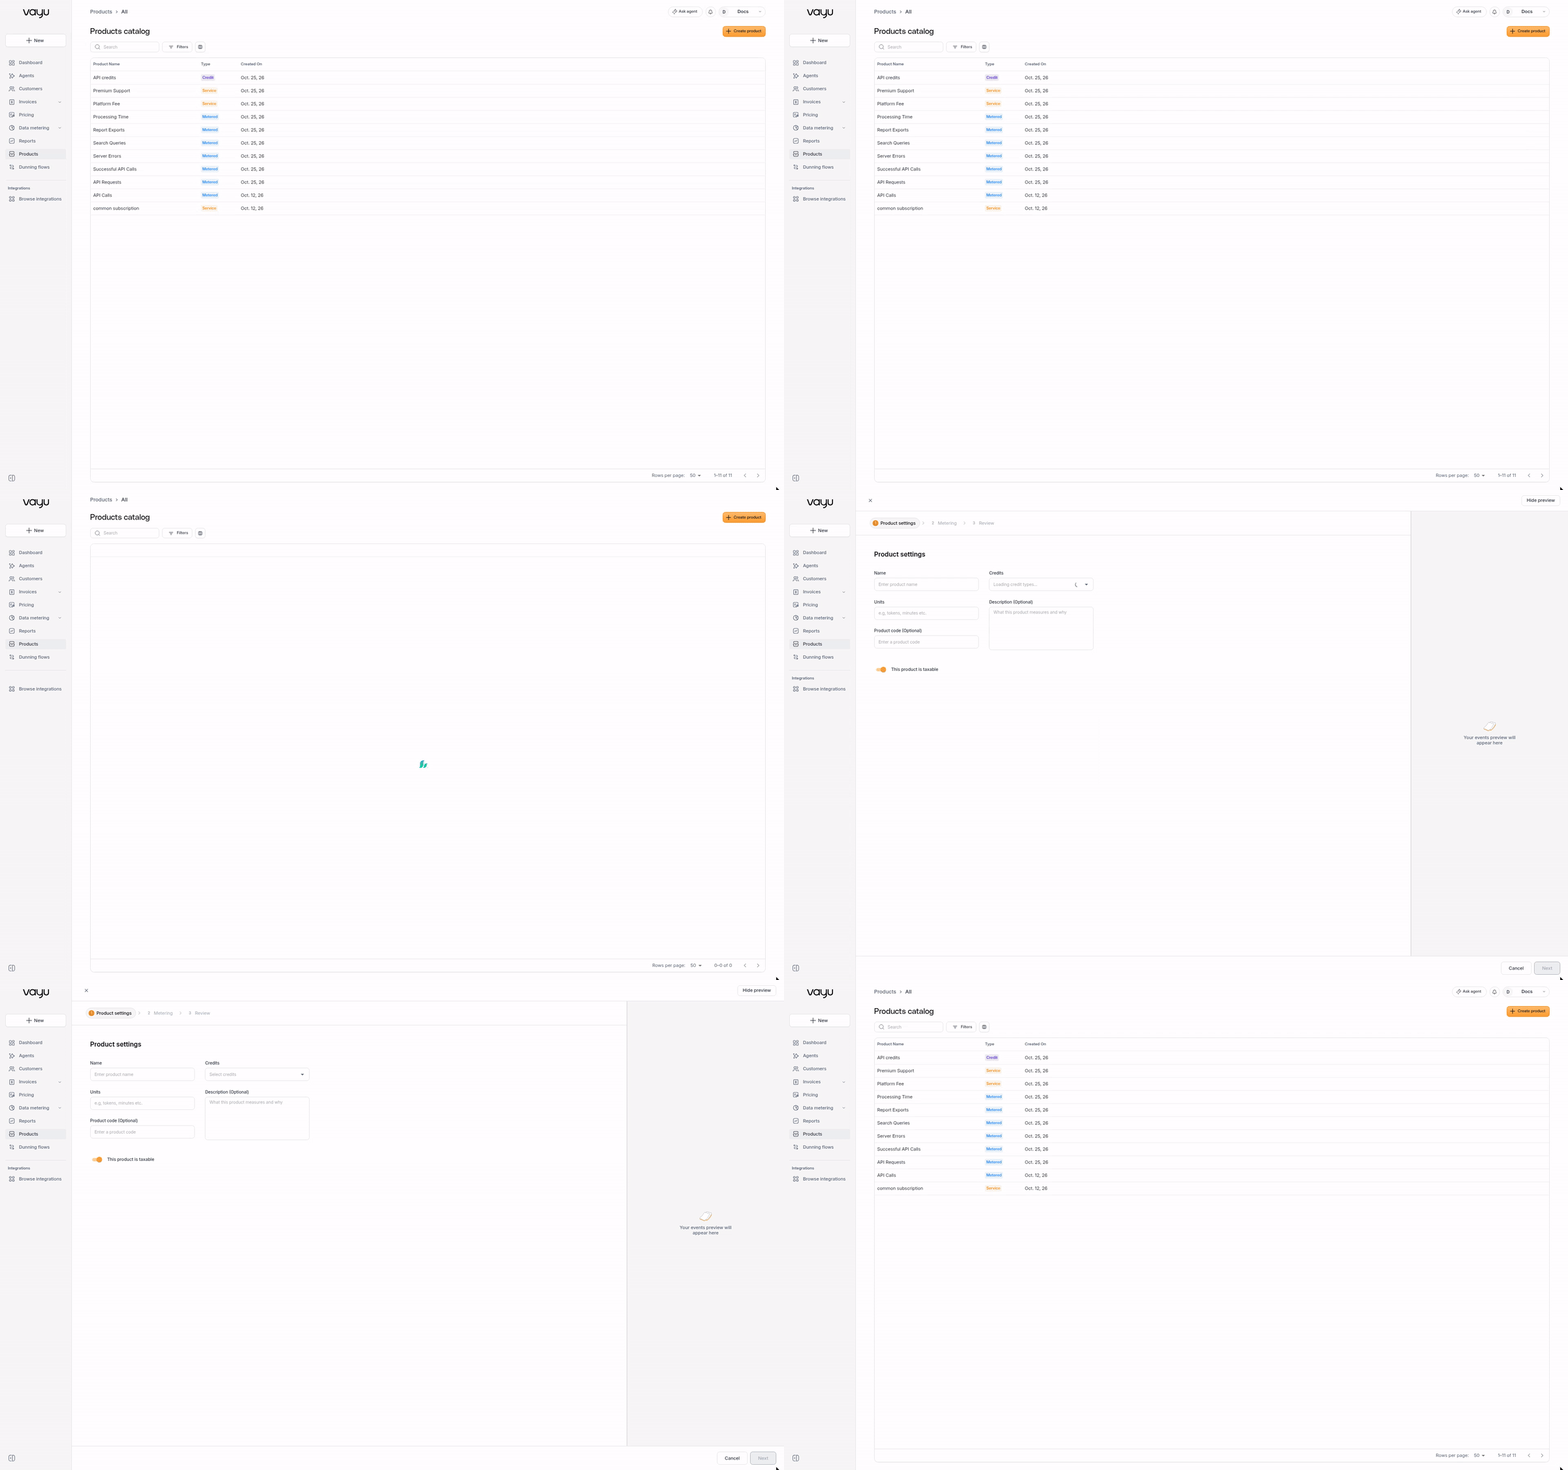
The product builder opens as a full page with three steps: Product settings, Metering, and Review. Use Next and Back to move between steps. What you enter is kept as you go back and forth.
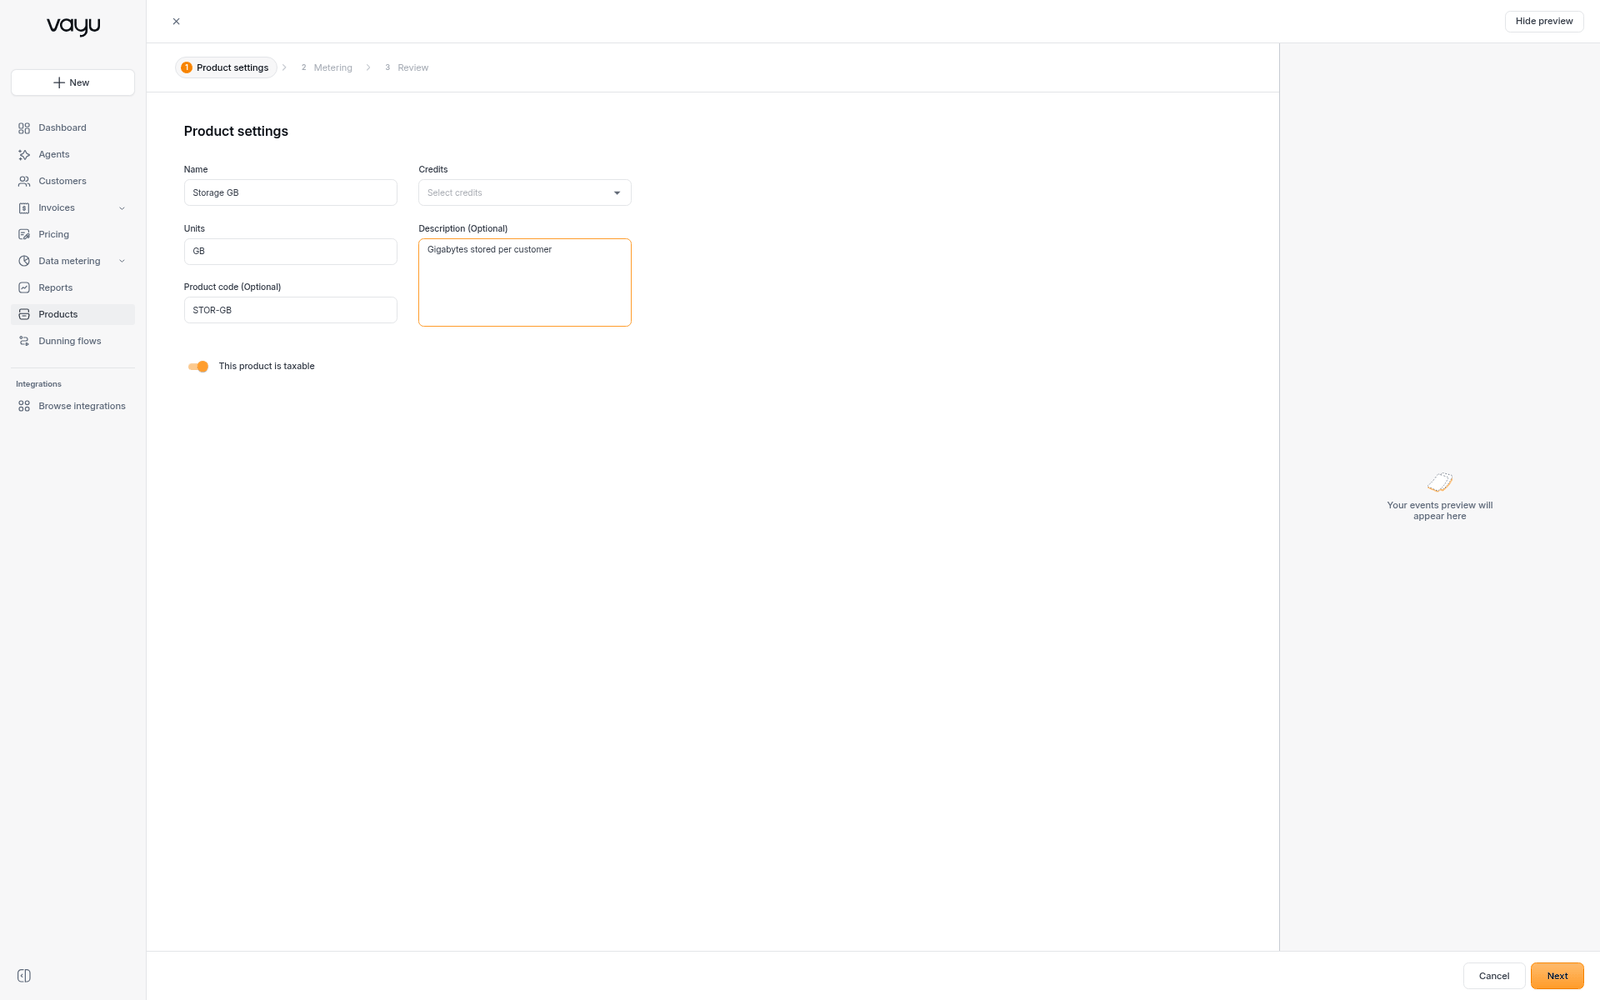
Step 1: Product Settings
| Field | Required | Description |
|---|---|---|
| Name | Yes | The product name shown on plans, contracts, and invoices |
| Units | Yes | What one unit is called, such as tokens or minutes |
| Product code (Optional) | No | Your own code for the product |
| Credits | No | The credit products that can pay for this usage |
| Description (Optional) | No | What the product measures and why |
| This product is taxable | No | On by default |
If you've connected NetSuite, QuickBooks, Xero, Paddle, Anrok, or Stripe Tax, an ERP Integrations section lets you map the product to a record in each connected system.
Step 2: Metering
Under Measure with, choose No-Code to build the meter from fields, or SQL Builder to write a query. SQL Builder appears only if it's enabled on your account.
No-Code
- Event name: under When this event name is, pick the event to count.
- Conditions (optional): click Add condition, then choose a Field, a Criterion, and a Value. Rows in one group are joined with And: an event must match all of them. Click Or to add another group. An event that matches any group counts.
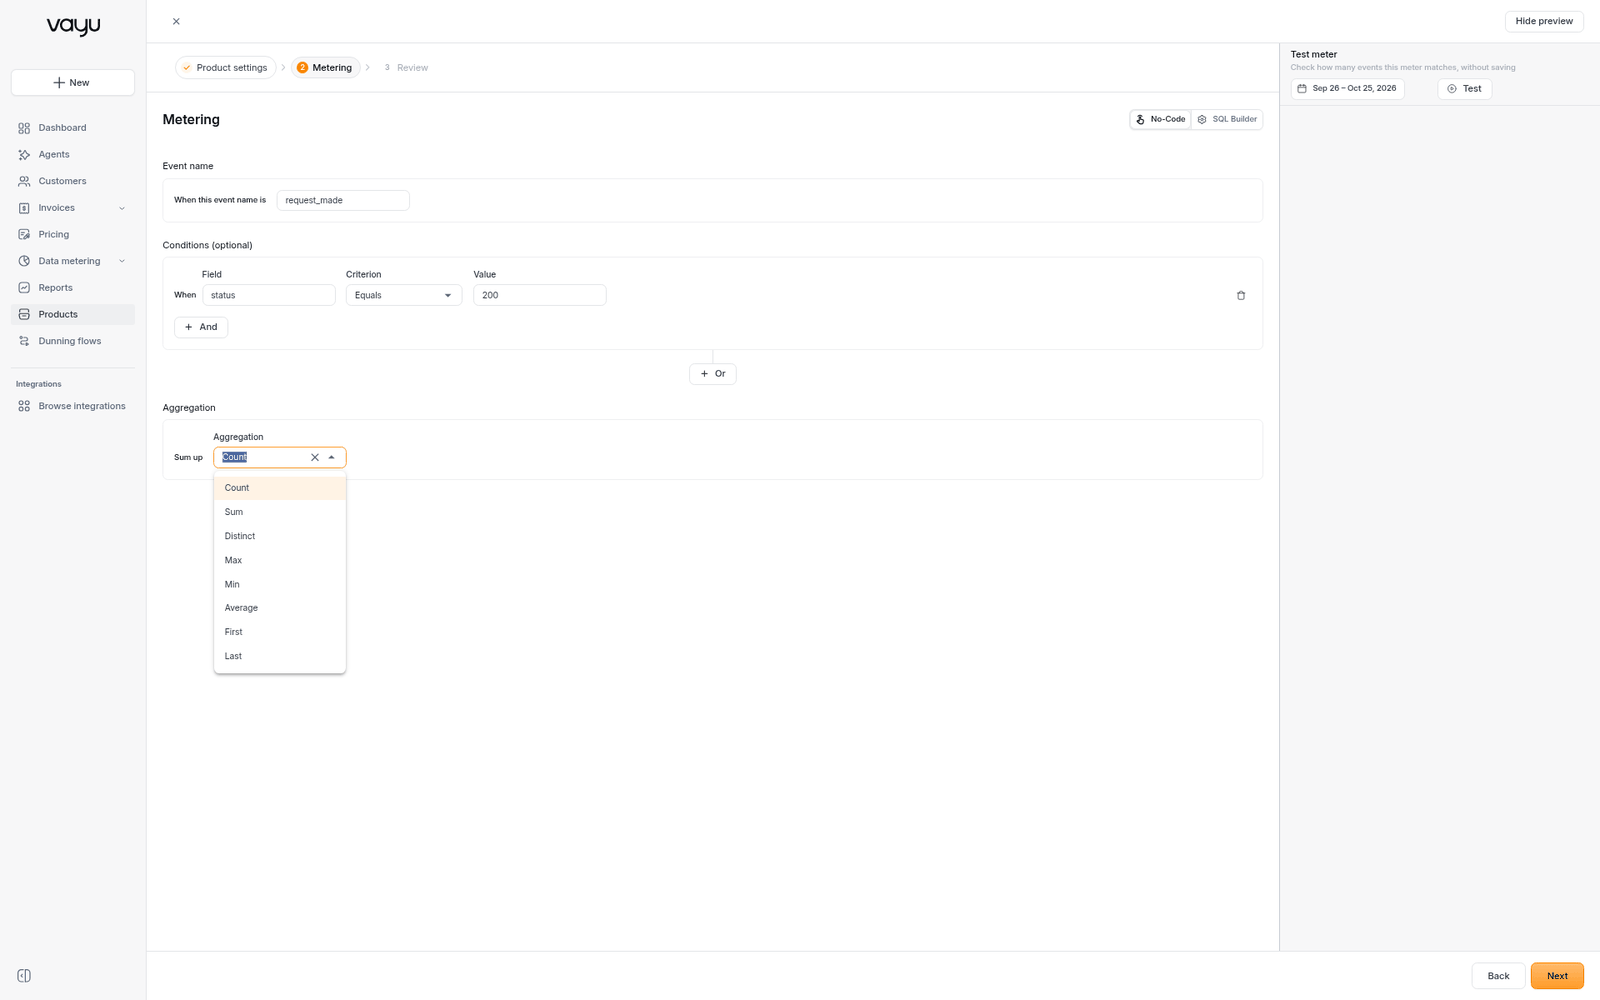
- Aggregation: choose how matching events are combined. Every method except Count also needs a Field.
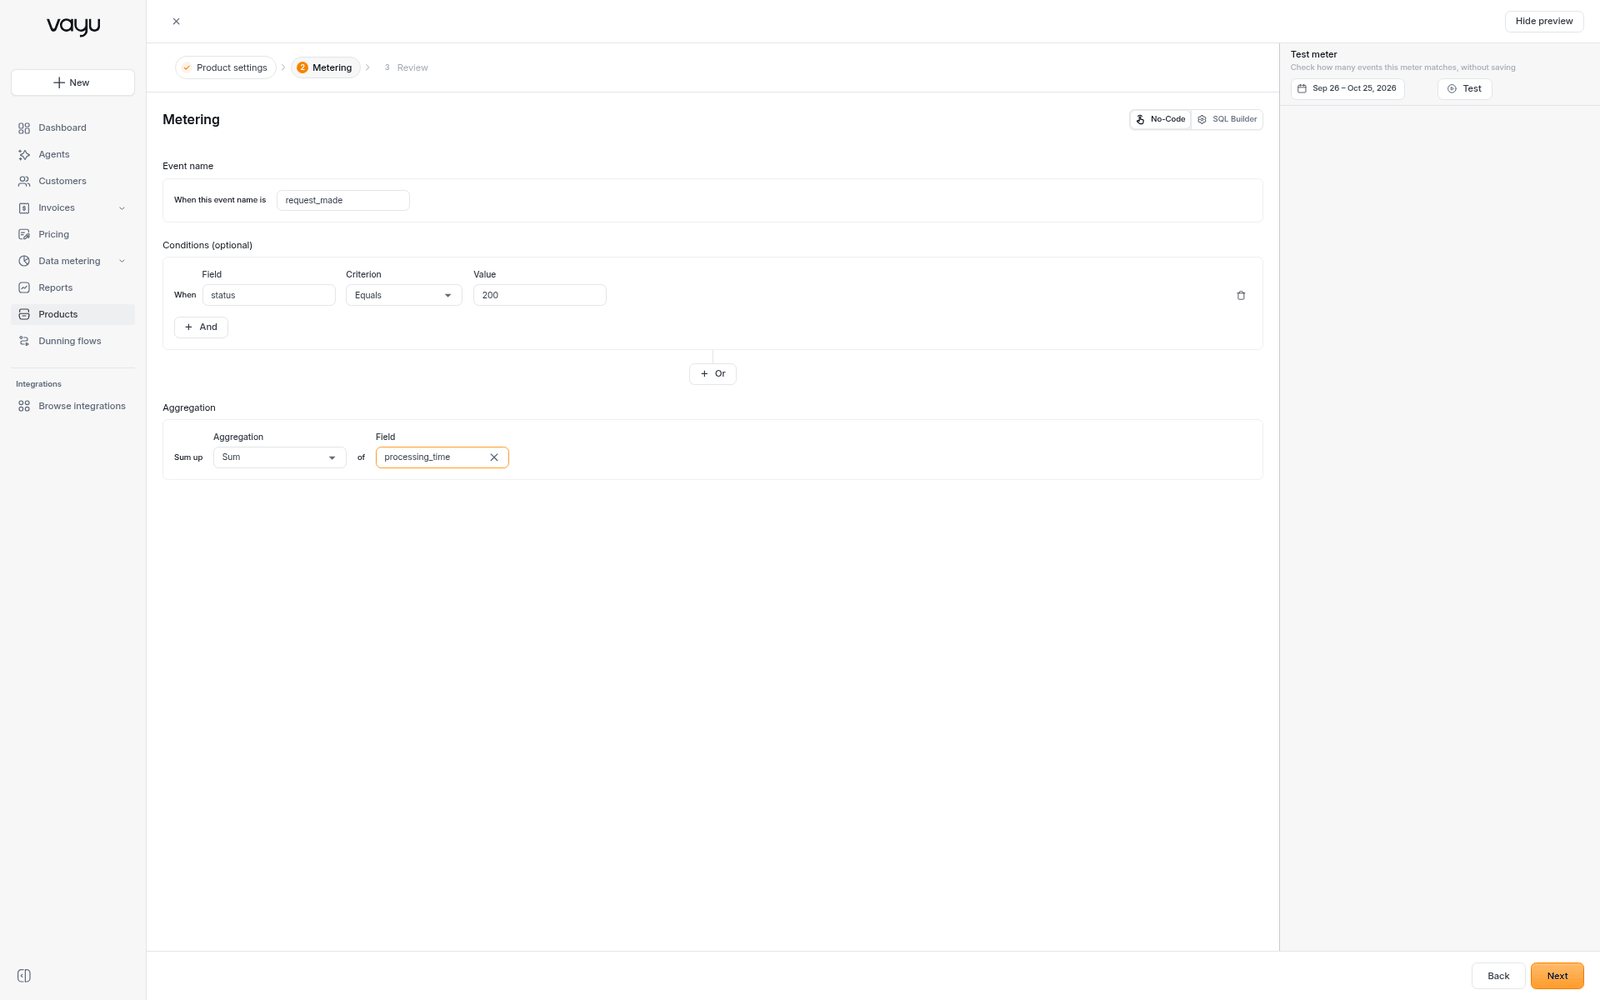
| Aggregation | Result |
|---|---|
| Count | The number of matching events |
| Sum | The total of a field |
| Distinct | The number of distinct values of a field |
| Max / Min | The largest or smallest value of a field |
| Average | The average value of a field |
| First / Last | The earliest or latest value of a field. Use Last for running totals, like stored records |
Criteria you can use in conditions: Equals, Doesn't equal, Has, Is any of, Contains (the default), Doesn't contain, Larger than, Lower than, Lower or equal to, Larger or equal to, Exists, and Doesn't exist.
SQL Builder
Write a ClickHouse SQL query in Your query. Read event fields as raw_data.{your_field_name}, and return one row per day with the columns day and value.
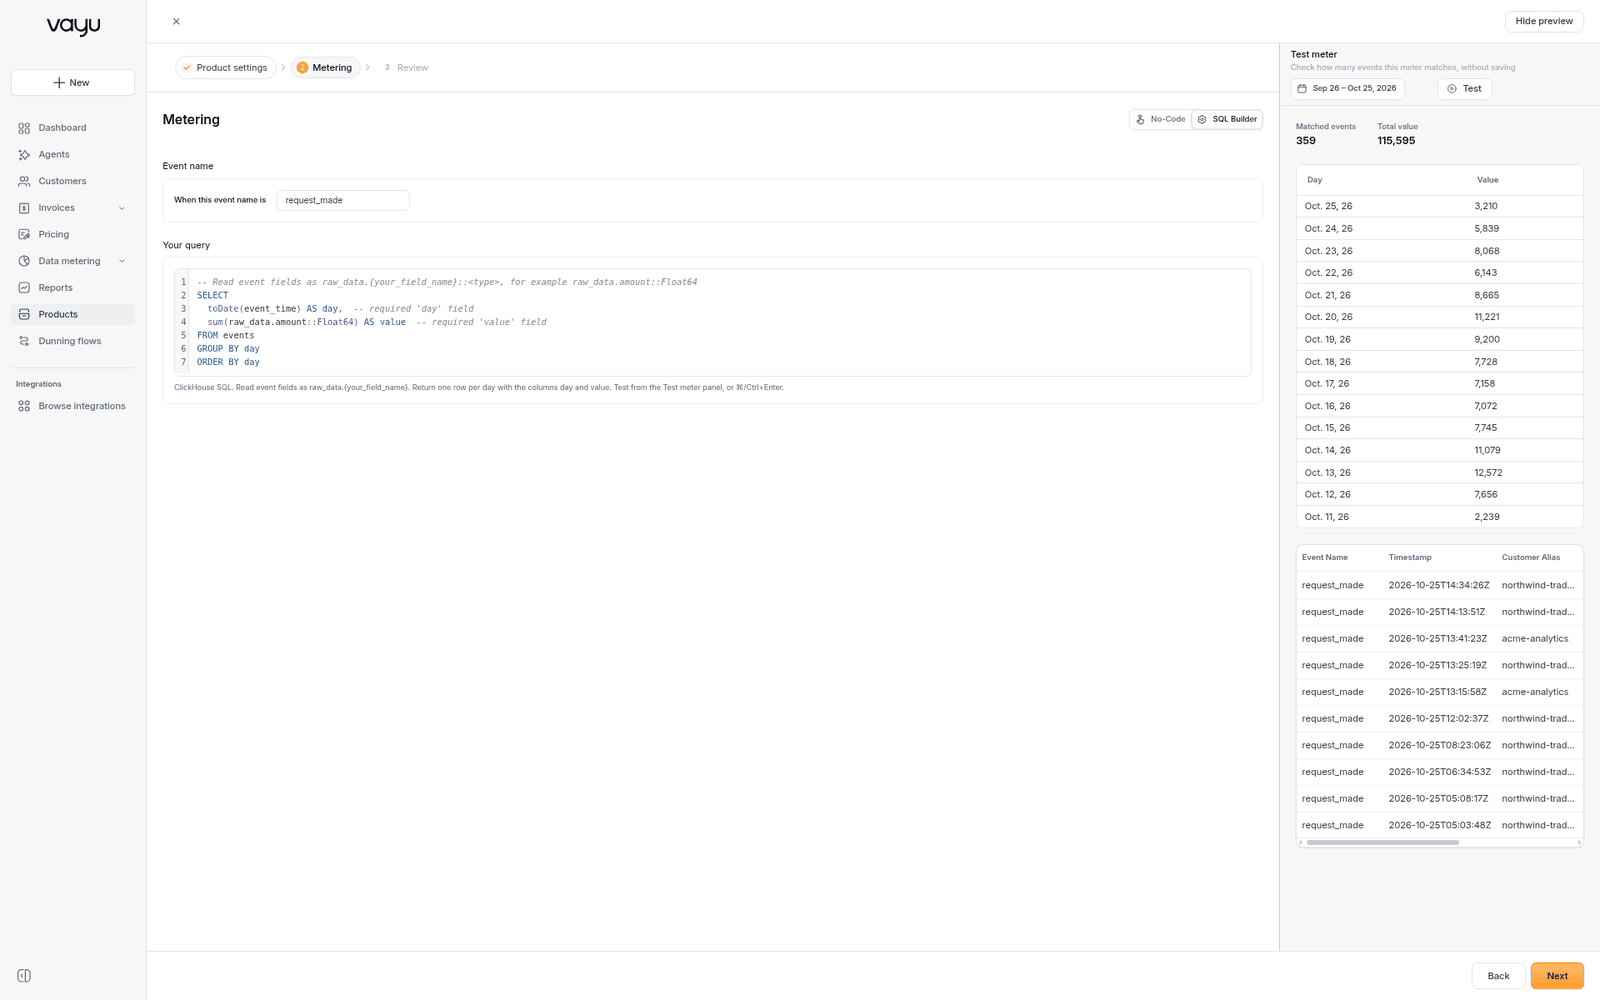
If a product already uses SQL but SQL Builder isn't enabled on your account, the query is read-only. Contact Vayu to change it.
Test the Meter
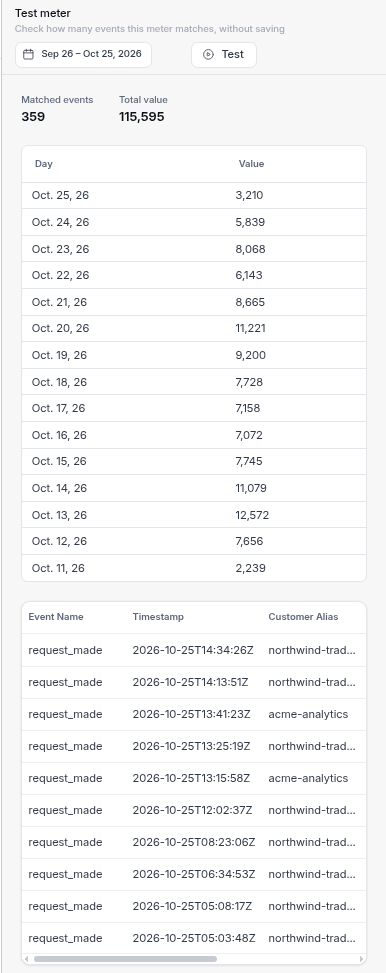
Click Show preview in the top bar to open the Test meter panel. It lets you check how many events this meter matches, without saving. Pick a date range (it defaults to the last 30 days) and click Test, or press ⌘/Ctrl+Enter. Results only update when you run a test.
The panel shows Matched events, Total value, the value for each day, and sample events. If nothing matches, widen the date range or your conditions. A failed test doesn't affect saving the product.
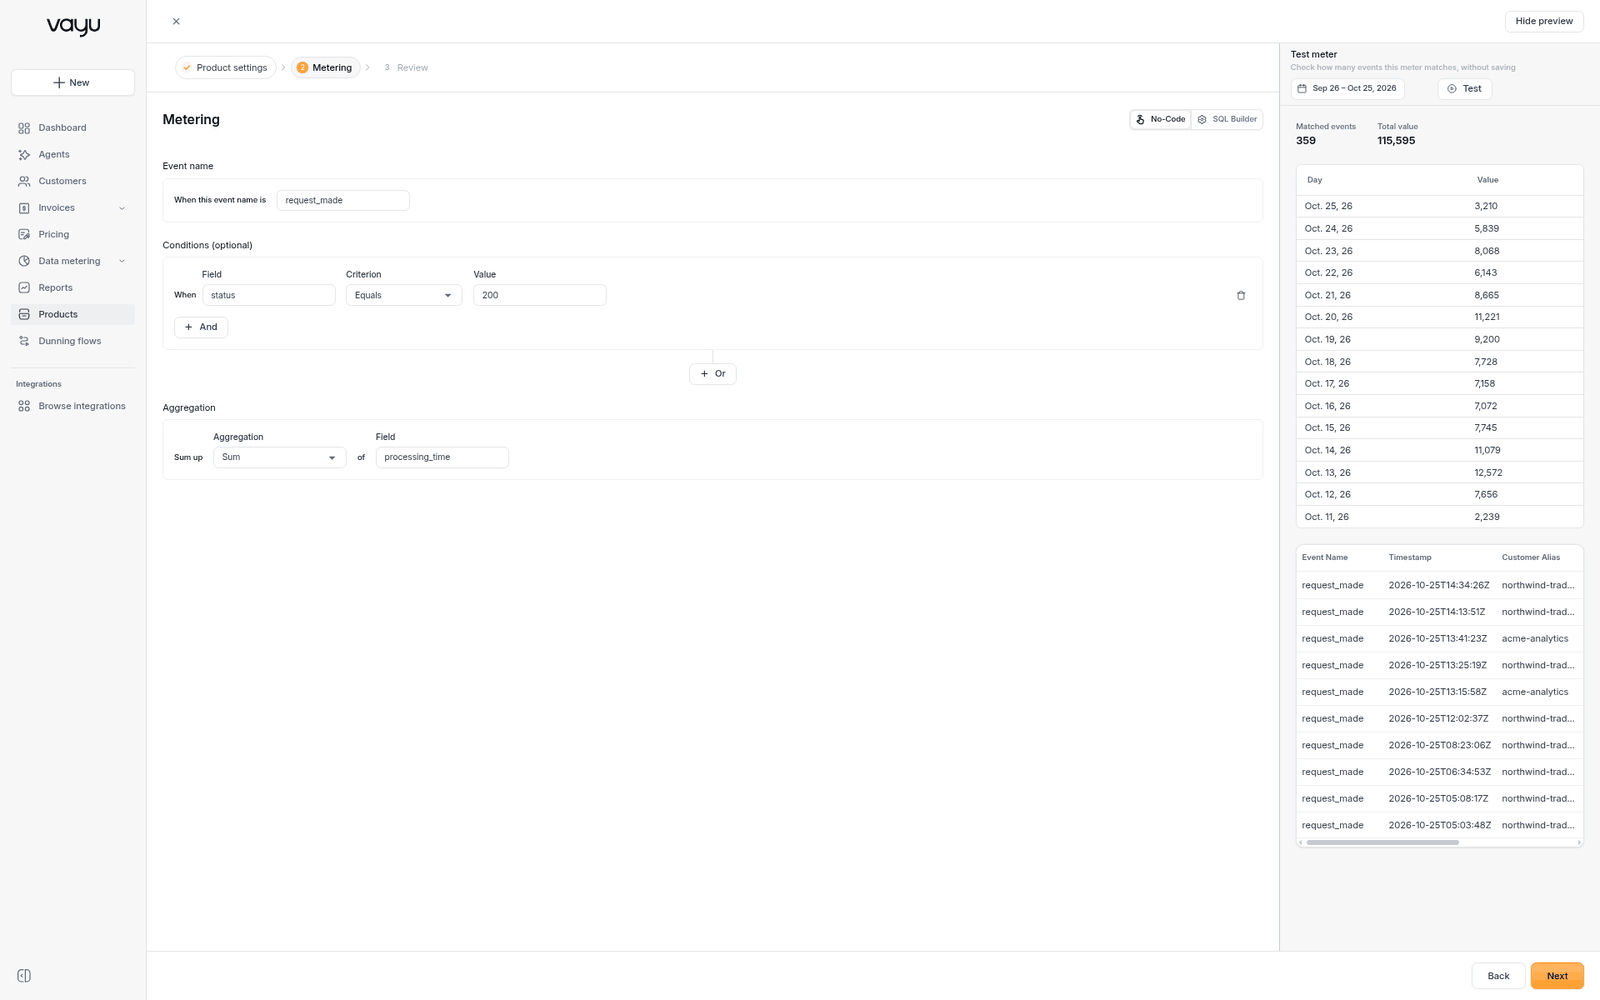
A close-up of the panel:
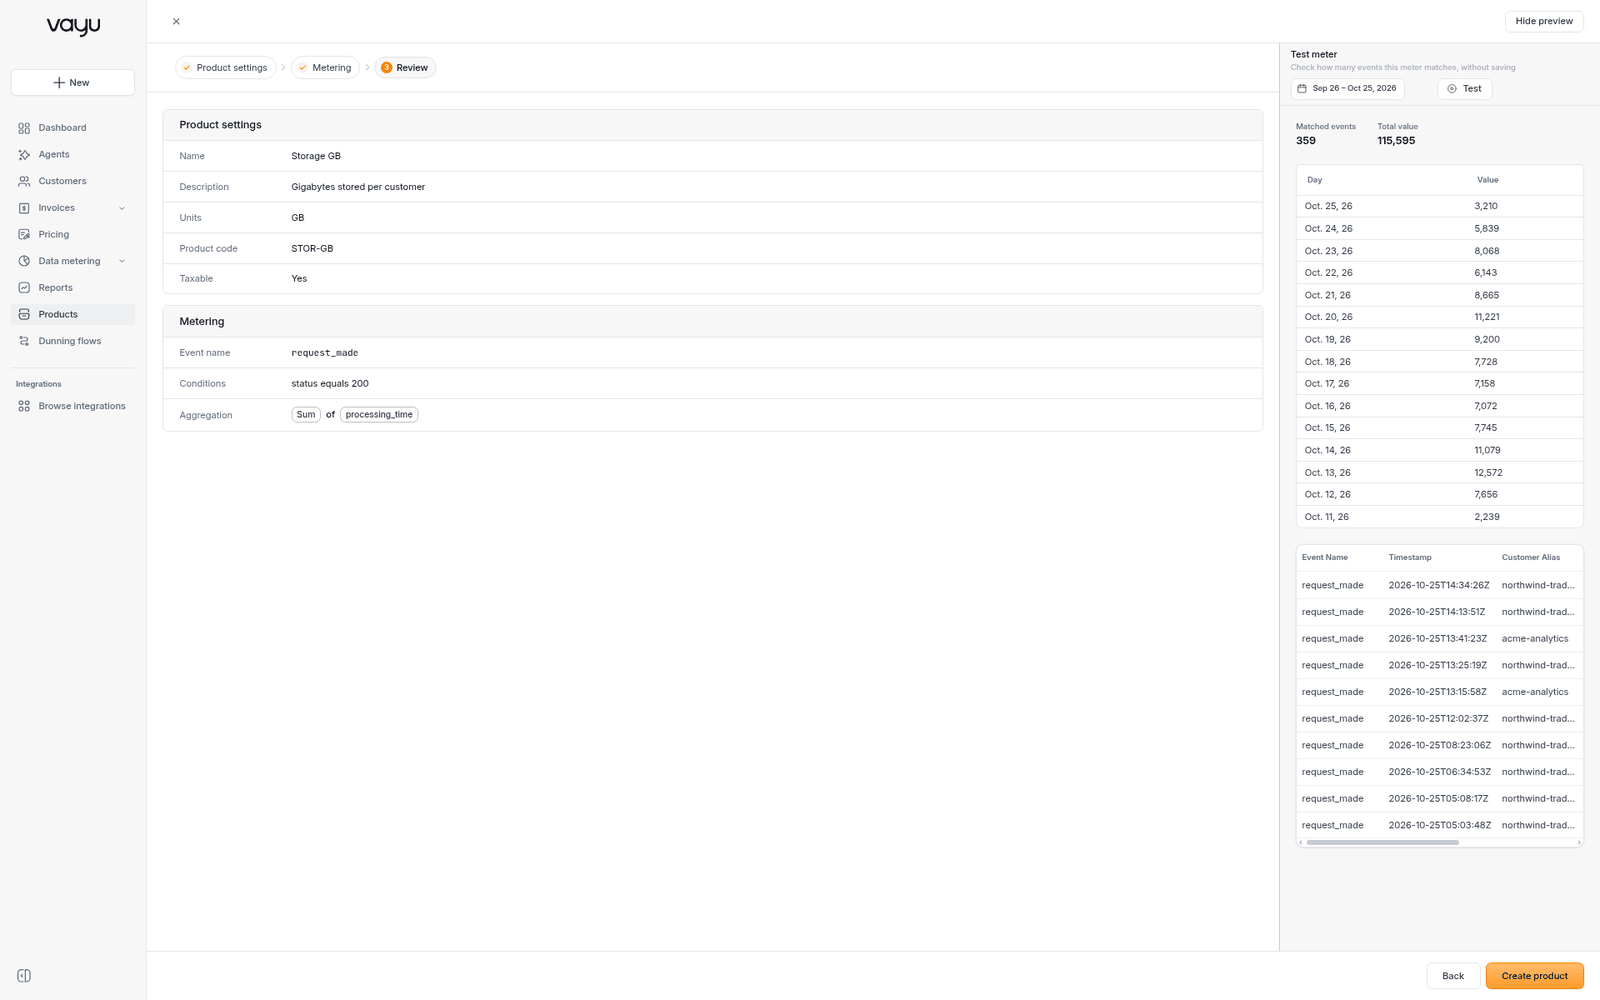
Step 3: Review
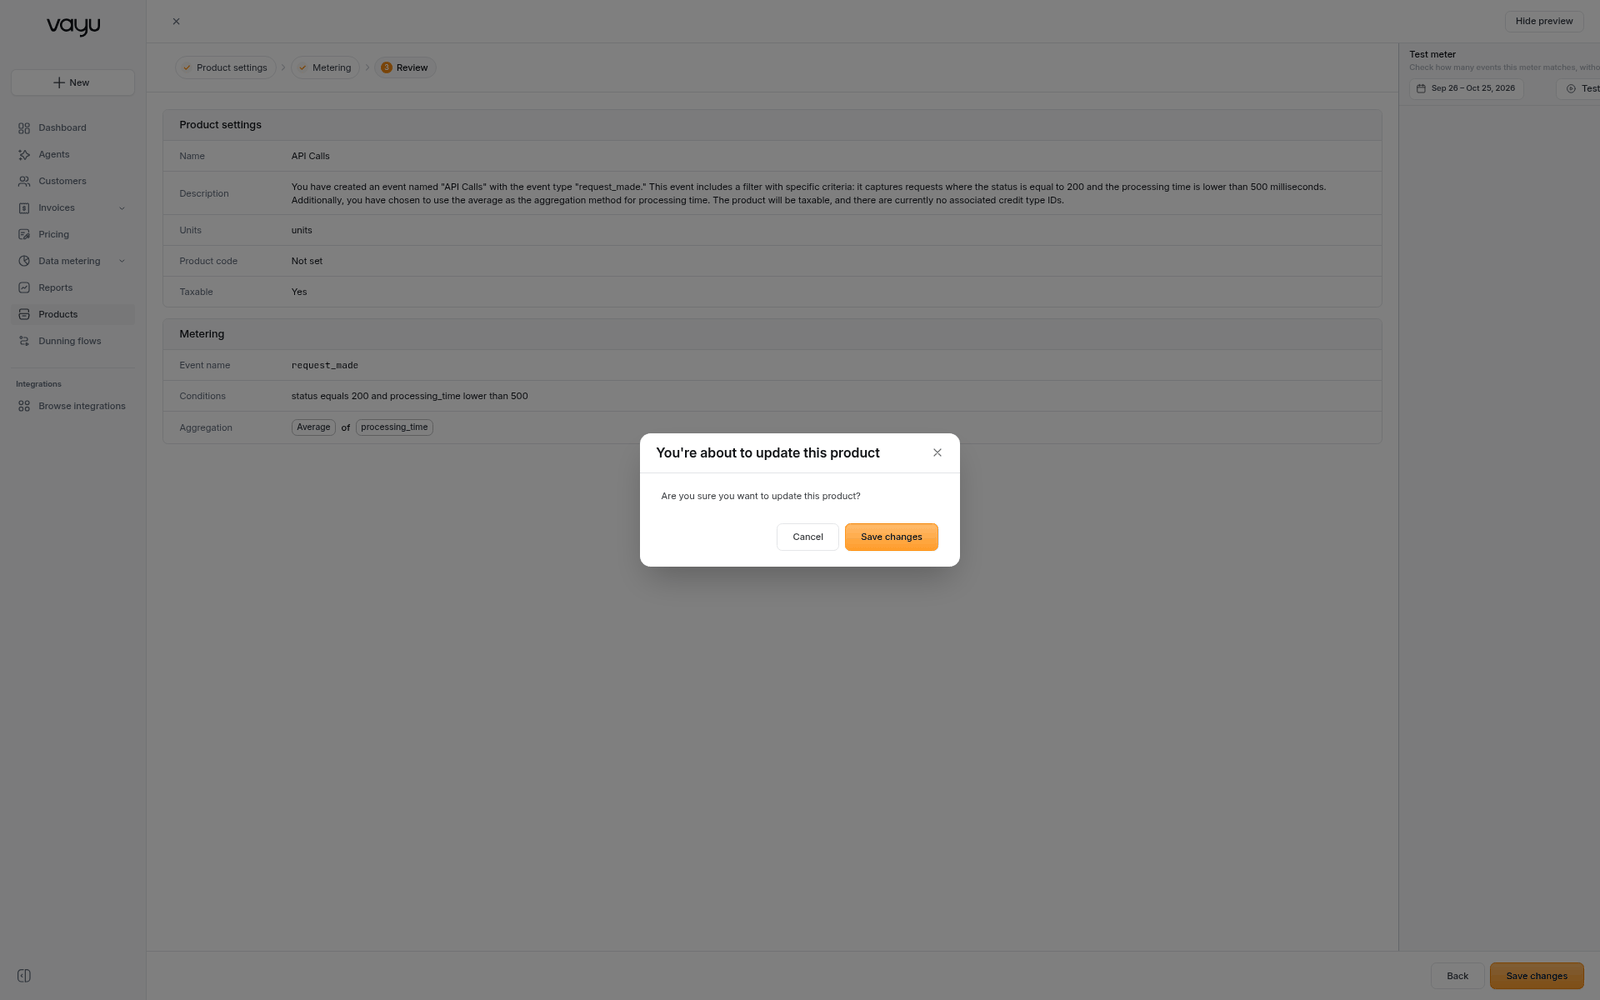
Check the Product settings and Metering summaries, including the event name, conditions, and aggregation (or the SQL Query), then click Create product.
If you leave the builder with unsaved changes, Vayu asks you to confirm before discarding them.
Edit a Metered Product
Open the product and click Edit, or choose Edit from the row menu. The same three steps open. The Review step shows your changes. Click Save changes, then confirm in the You're about to update this product dialog.